Who else grew up eating lunchables? I sure did and I feel like a lot of my fellow millennial mom’s are reading this going “yep, my favorite was the pizza.” No hate on lunchables because sometimes Baby O gets those too because hello, convenience.
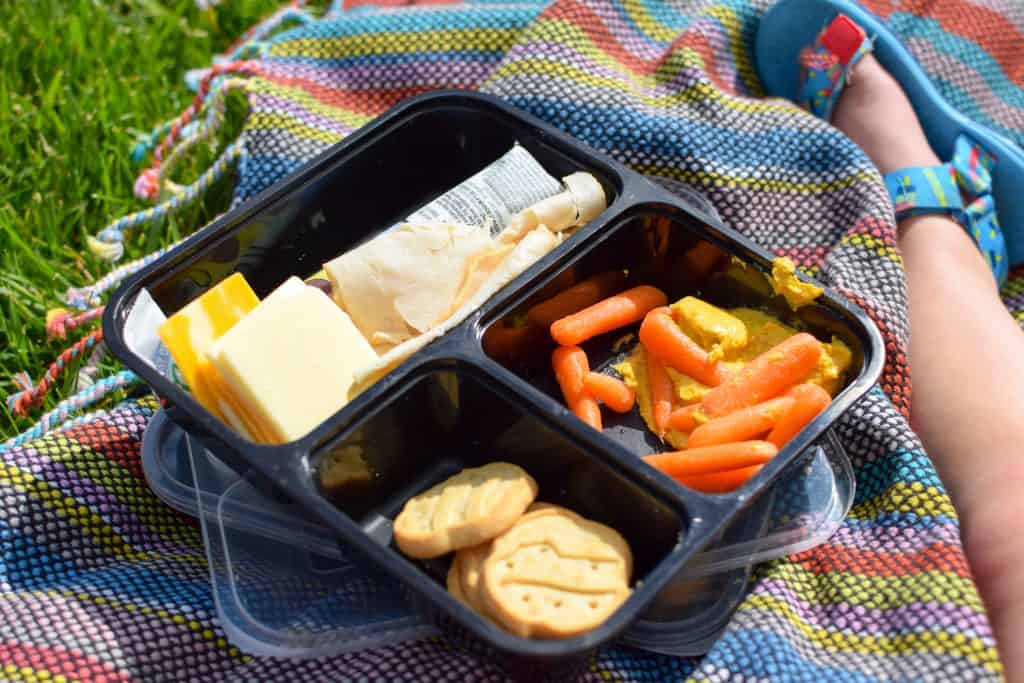
But, we decided to whip up some DIY homemade lunchables that are suitable for both toddlers and adults. The first thing to start with is some disposable or reusable containers that have a few various compartments for all your snacks. We use a variation of these ones here and they are awesome and pretty affordable.
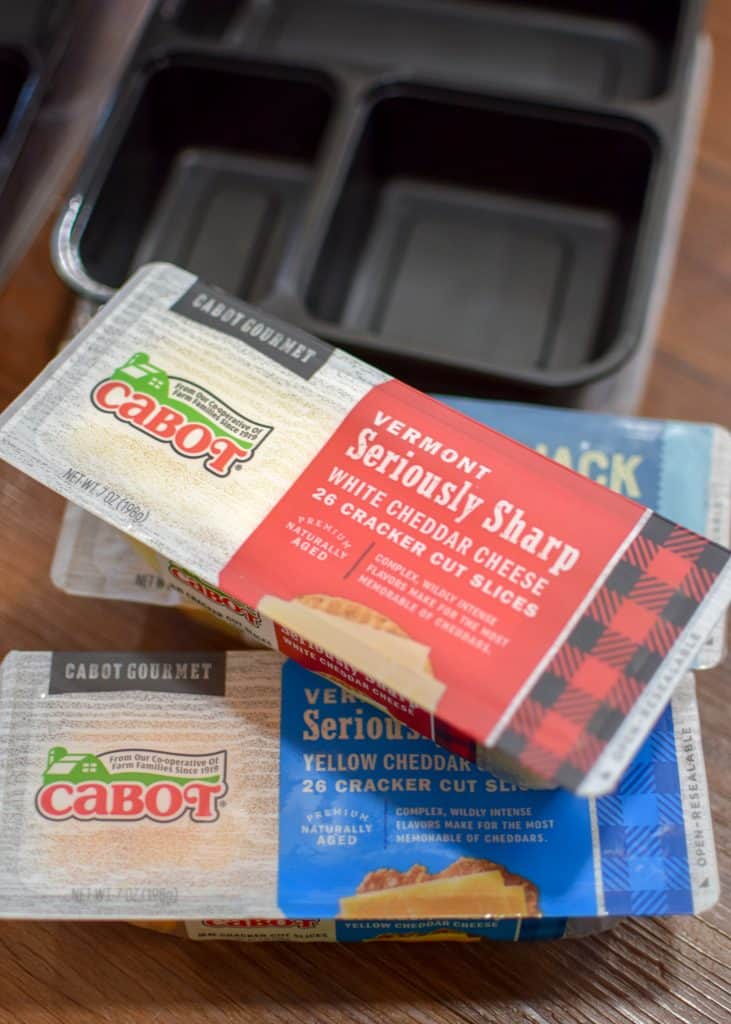
Then, you have to get all your snacks ready for your lunchable party. My new obsession is these cracker cut slices from Cabot. You’ll notice that I’ve used them in a few recipes already because they are incredibly versatile and they come in 6 varieties. You can throw in one or two cheese varieties, a boring cheese for your toddler and a yummier cheese for you. Kidding, kinda.
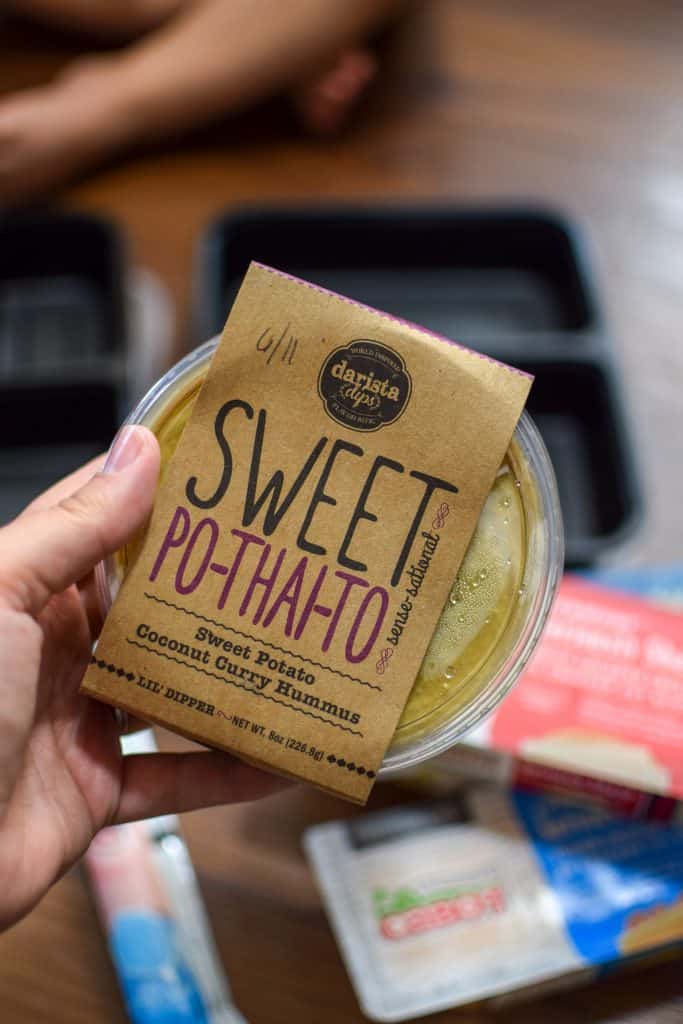
Then, you’ll want to grab a dip of sorts and I can’t recommend Darista Dips enough. She’s local out of Columbus, Ohio but she ships her fabulous hummus all around the USA. We used the Sweet Po-thai-to kind for this snack but I also have a love affair with her Gooey Chocolate Espresso one. You can also enter to win Hummus for a Year right now!
Pair your dip with some sort of veggie, we used carrots for our homemade lunchables. But, you could use broccoli, asparagus, cauliflower – whatever your kiddo will eat. Also, if your child eats cauliflower, please give me a call and let me know what I’m doing wrong.
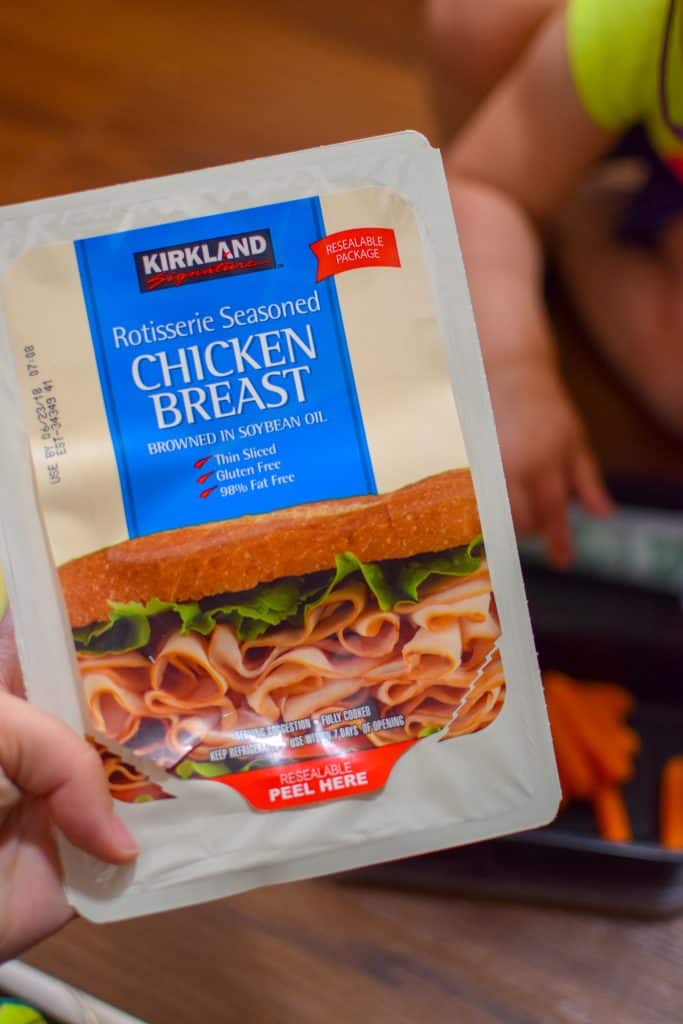
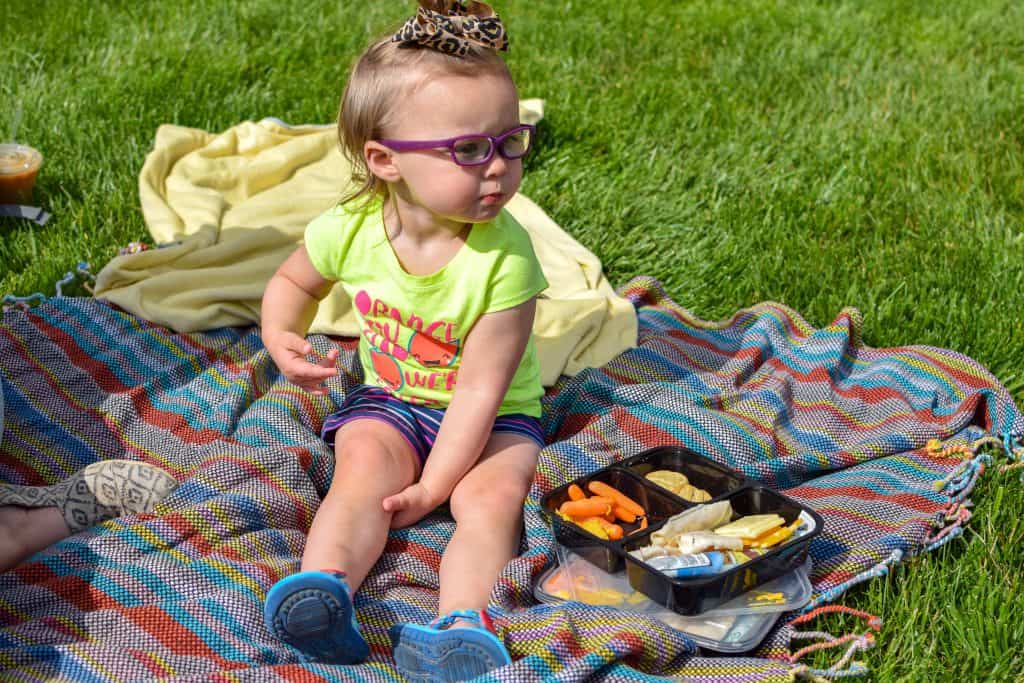
Your main source of protein for this homemade lunchable is some deli meat. We used some chicken breast from Costco but you could easily swap for ham, roast beef, turkey, etc. You can see that O is already snagging a piece to enjoy before lunchtime. She’s a stinkers.
You could also put some hardboiled eggs in this meal, it is DIY so pick your favorite option! If this was an adult lunchable for me, it would have hardboiled eggs and maybe a wine slushie to go.
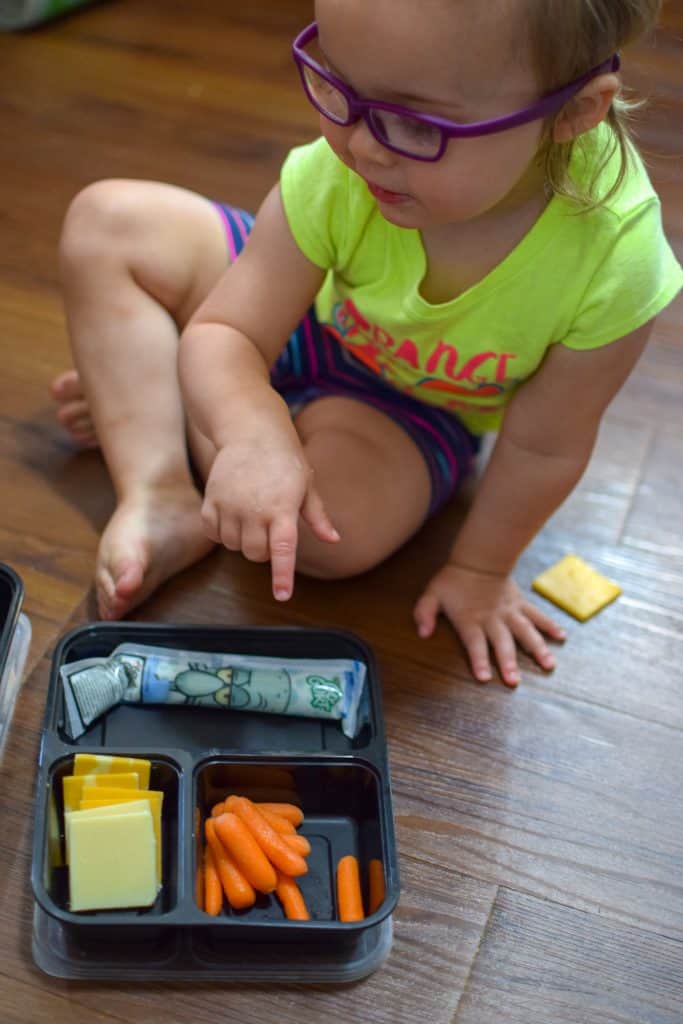
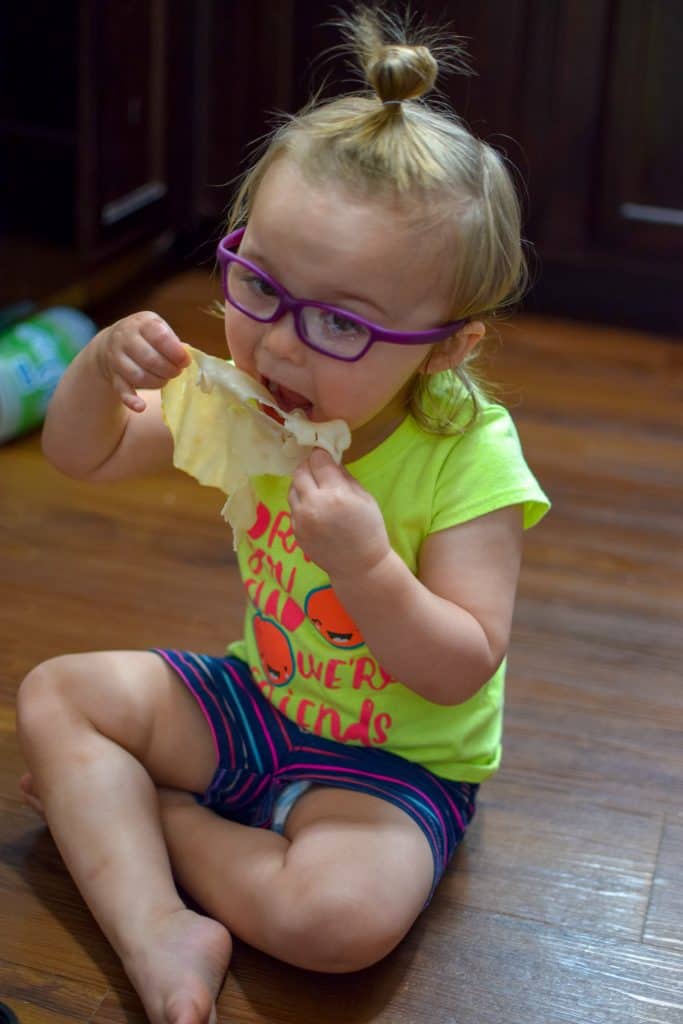
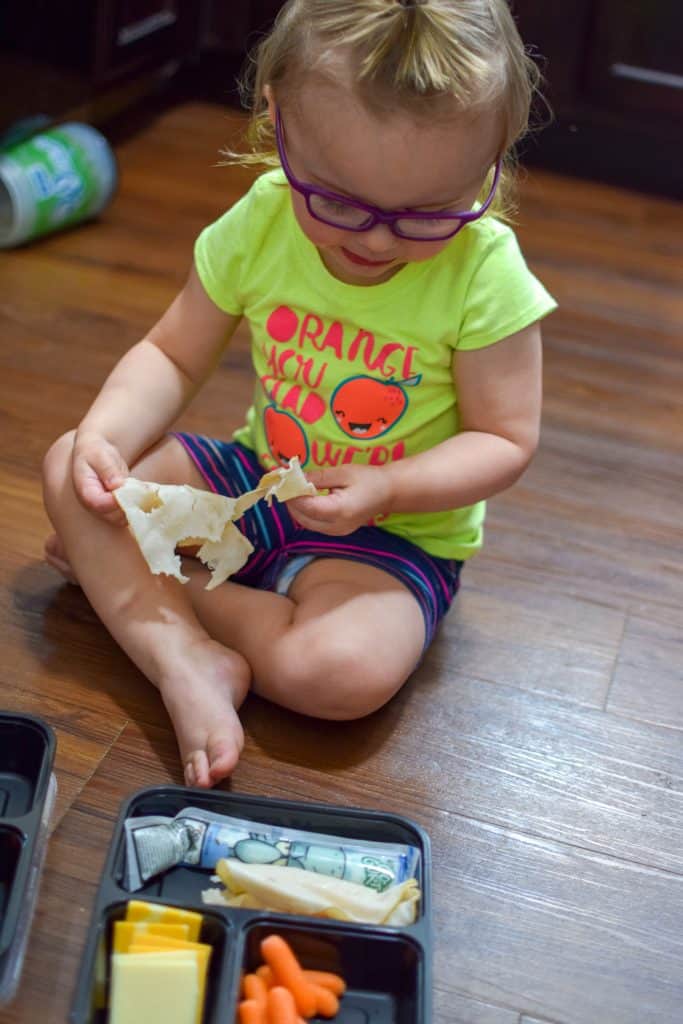
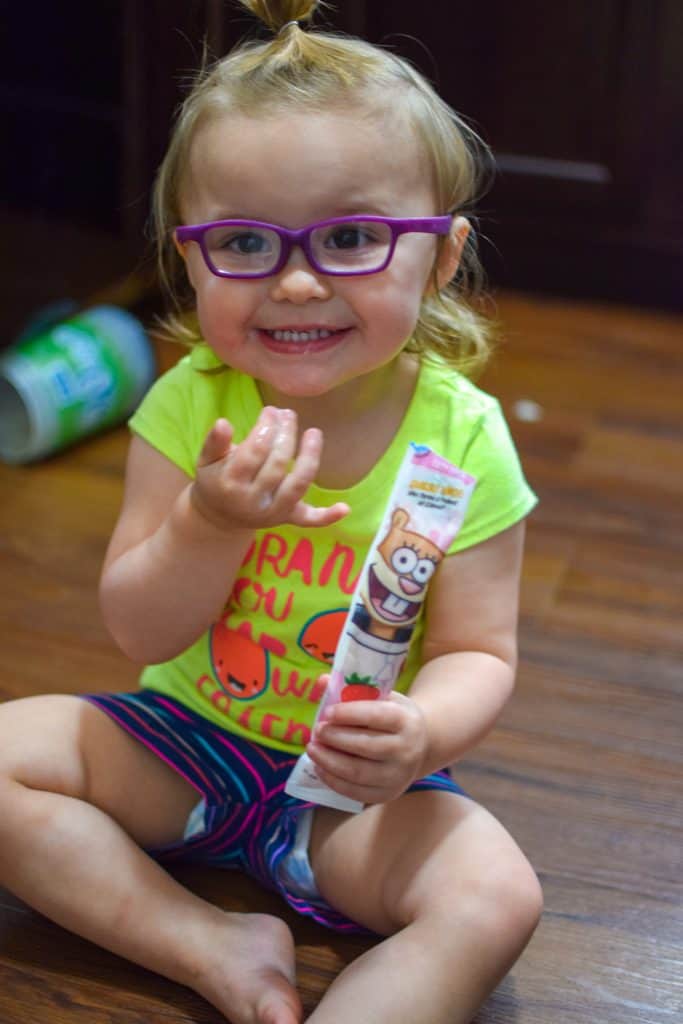
She also stole the yogurt out of her lunchable but hey, she’s cute, so it’s fine. We put a Go-Gurt in this lunchable because we had a ton on hand when my mom came over for a pool party. But, if you want a more shelf stable option, you could easily do a go-go squeeze too!
Last but certainly not least, you have to put in a cookie! Wasn’t that your favorite part of a lunchable as a child? This homemade version shouldn’t be any different! We had some Girl Scout cookies lying around so we tossed a few Trefoils in there for good measure. I’m more of a Thin Mint or Tagalong gal myself, but hey it’s a homemade lunchable for the kid today.
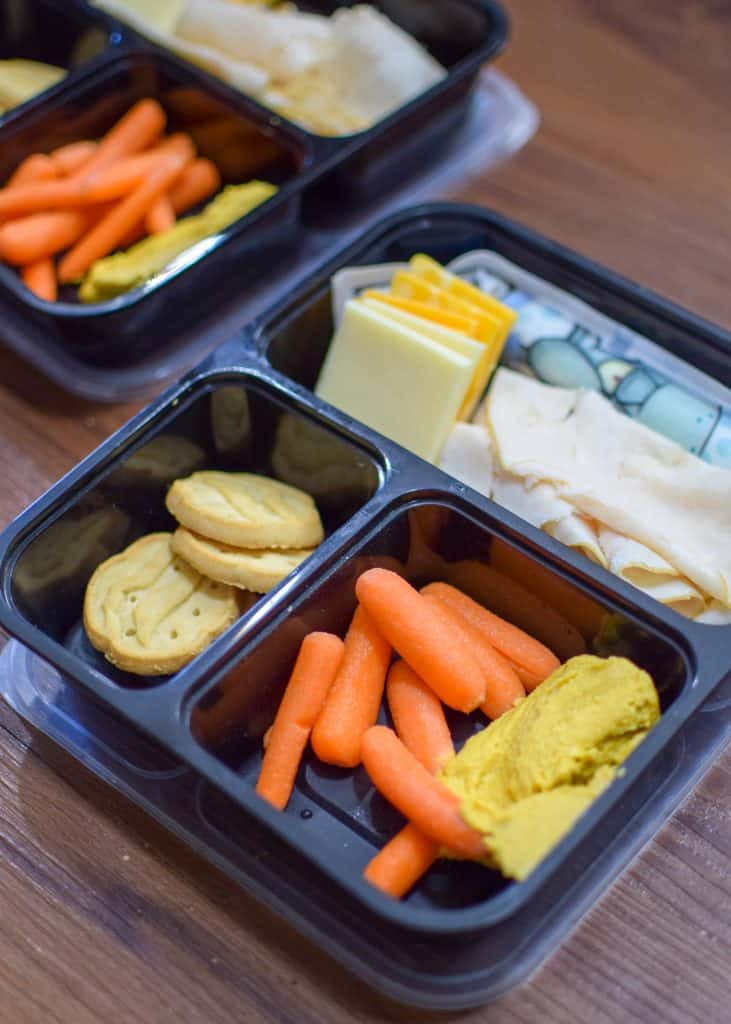
We took our homemade lunchable to a Shazzbots concert at a nearby park so we could listen to some music, enjoy the weather, and nom on some delicious snacks. The best thing about these containers is that they can reseal easily so you if your kiddo isn’t interested in eating at that moment, you can pack up your homemade lunchable and give it to them at home.
Let us know what kind of options you are putting in your DIY homemade lunchable? I’d love to know for our next park outing! Tell us in the comments below or tag us on social.


- 2 reusable bento boxes
- 4 slices deli meat
- 2 go-gurts/go-go squeezes
- 8-12 pieces of cracker cut cheese
- 2 handfuls of carrots
- 2 scoops of dip/hummus
- 4-6 cookies
- Add half of ingredients listed above to one lunchable box and then do the same with the other.
- Close lunchable boxes and head to your favorite summer activity with snacks in tow!
- If using refrigerated items, make sure to pack lunchables in a cooler or bag with ice packs.
- There is no drink in this recipe so don't forget a water bottle or juice box!
We'd Love To Hear Your Thoughts on This Recipe!