I’m lucky enough to be a member of the Collective Bias® Social Fabric® Community. This little post about my daughters first birthday party has been compensated as part of a social shopper amplification for Collective Bias and its advertiser. All opinions and tutorials are of my own thought. #CollectiveBias #BirthdaysMadeBrighter
Oh em gee, my little peanut is turning ONE next week! How did this even happen? She’s an almost walking and talking grown little lady. Obviously, I have been thinking about her birthday party for months. I’m fully aware that this celebration is really for the parents because a one-year-old doesn’t care if her party is fully color coordinated and on theme. But, I do, so here we are.
I knew I didn’t want to break the bank while planning her party, but I still wanted to make her day a little brighter and fondly look back on pictures years from now. I DIY’d most of her decor using items from the American Greetings line at my local Meijer! I’m here to officially say that I’m not a “Pinterest Mom” and that if I can fully create these decorations beautifully, anyone can.
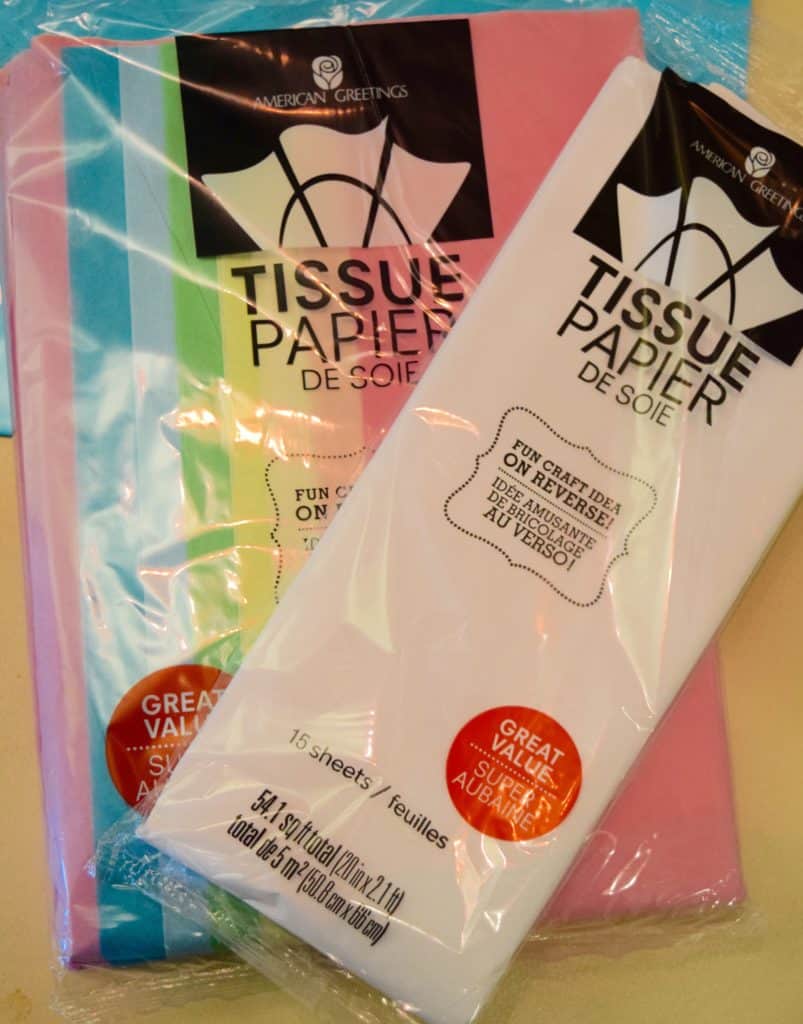
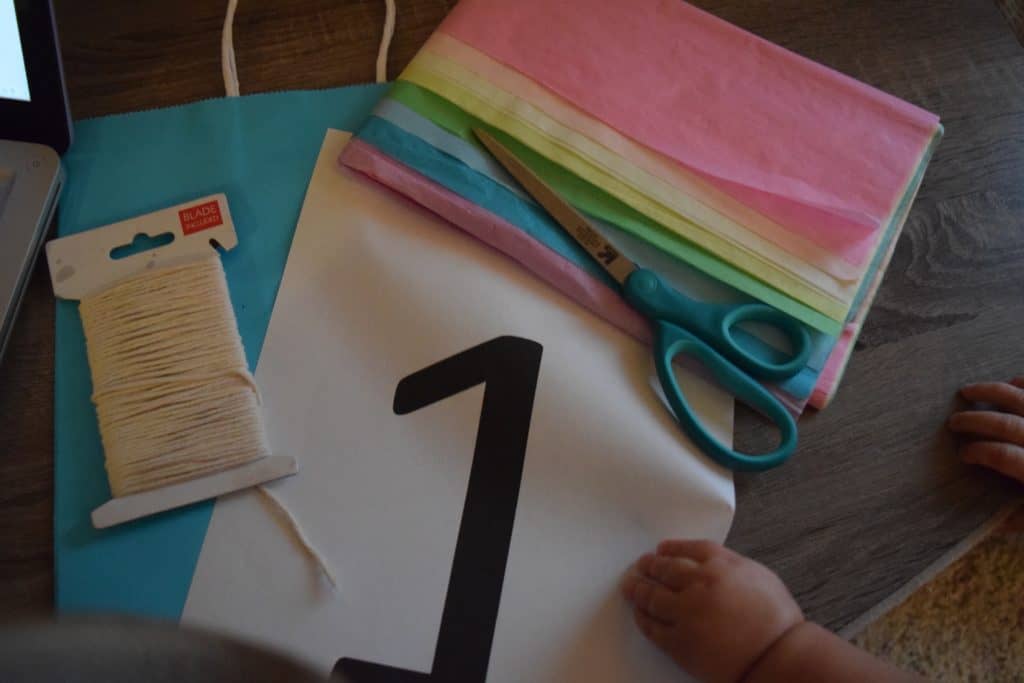
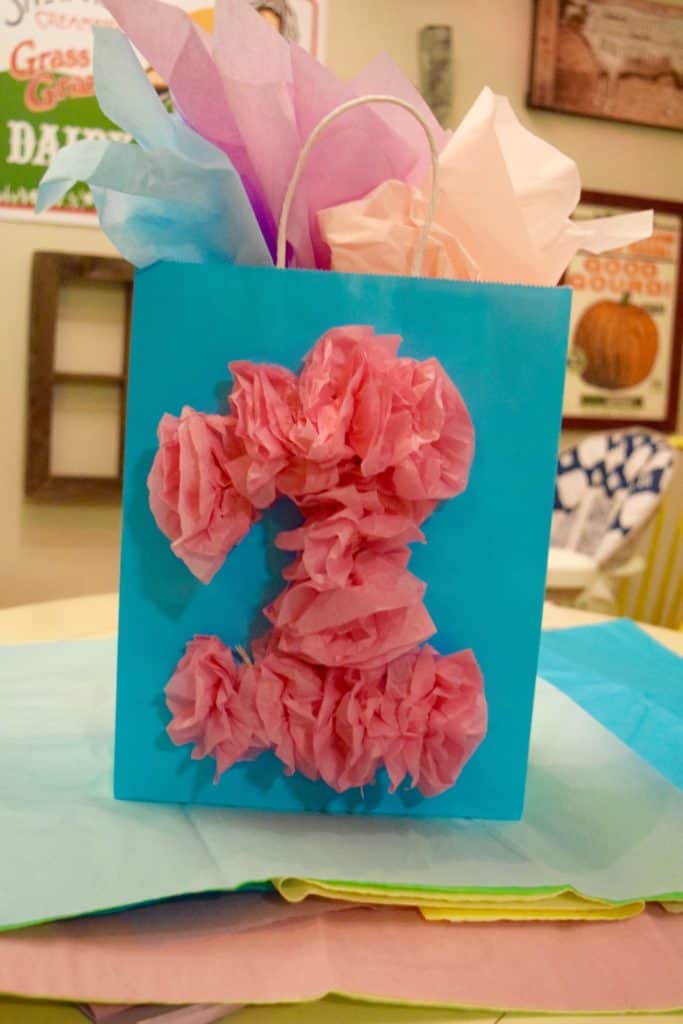
I’ll share my official party theme with you in Part Two of this post, but my go-to gift theme is always simple with a dash of cuteness. That was exactly my goal with this DIY number gift bag. I picked up a colorful teal gift bag (I usually get kraft for adults) and a package of the multi-colored tissue paper.
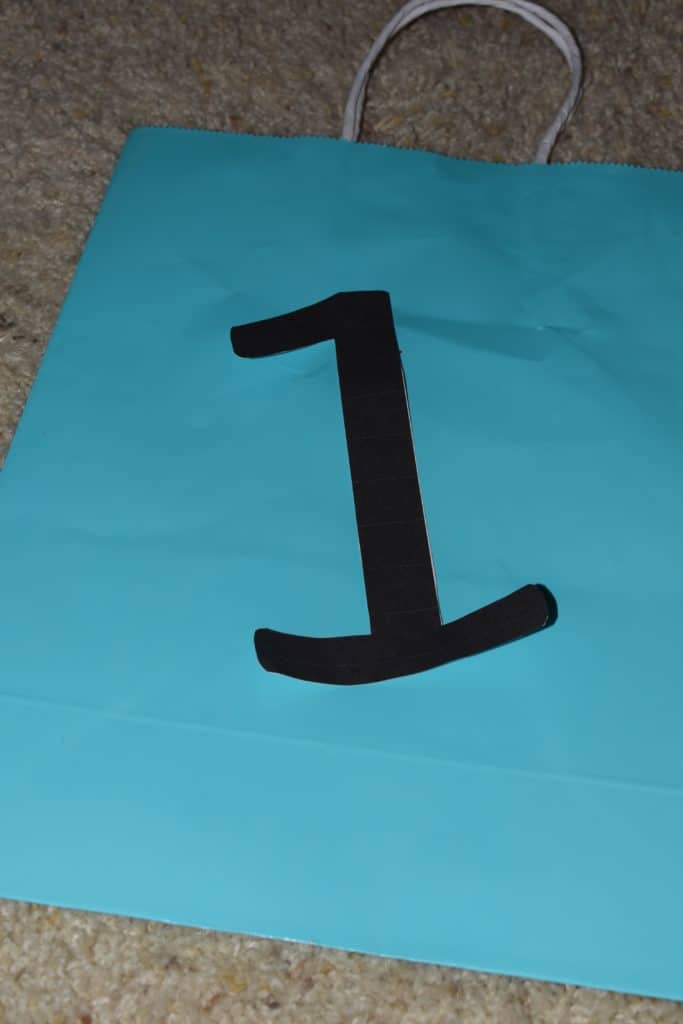
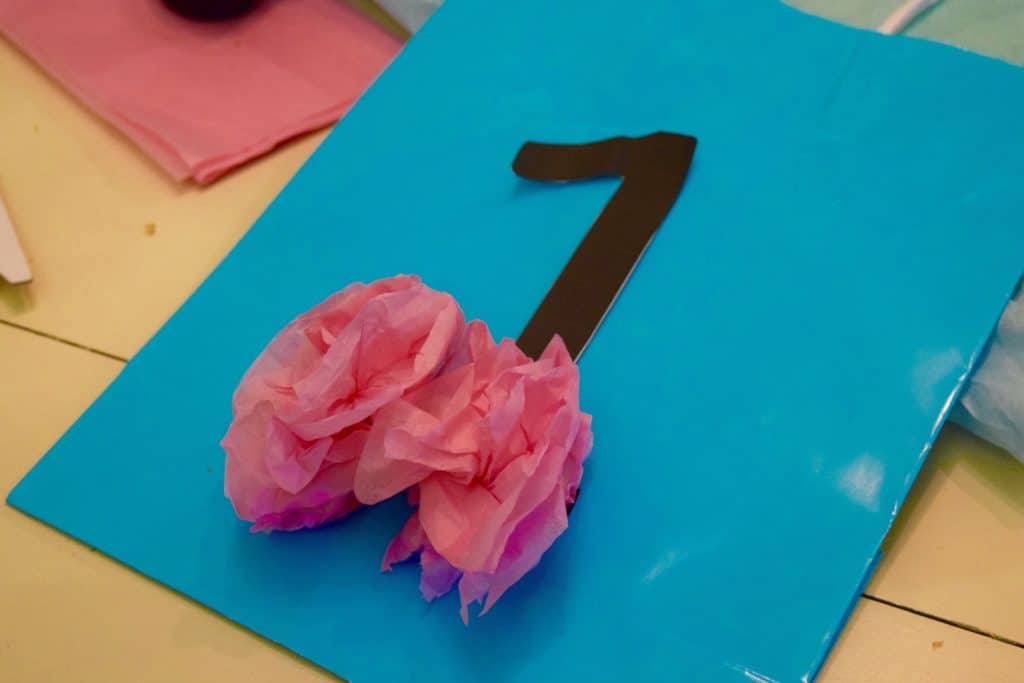
Since my little girl is turning one, I printed off a giant “1” from Microsoft Word and then cut it out. You can easily interchange with any other numbers. If you’re looking to do double digits, I’d probably pick a bigger bag. Which, luckily, American Greetings has at your favorite retailer! After you cut out your number, use a hot glue gun to affix to your bag.
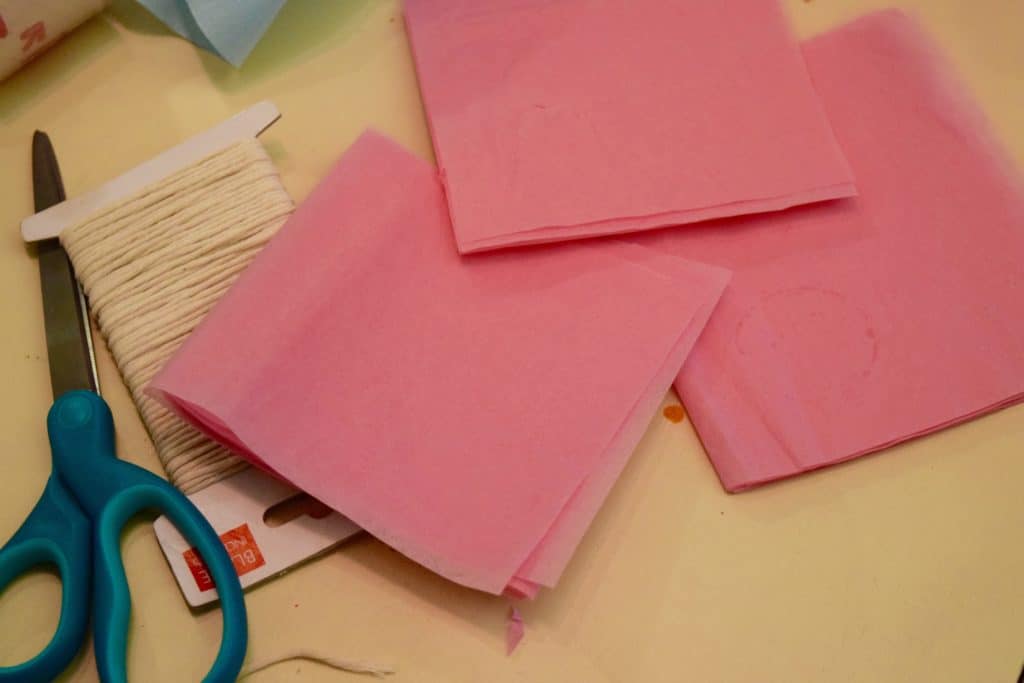
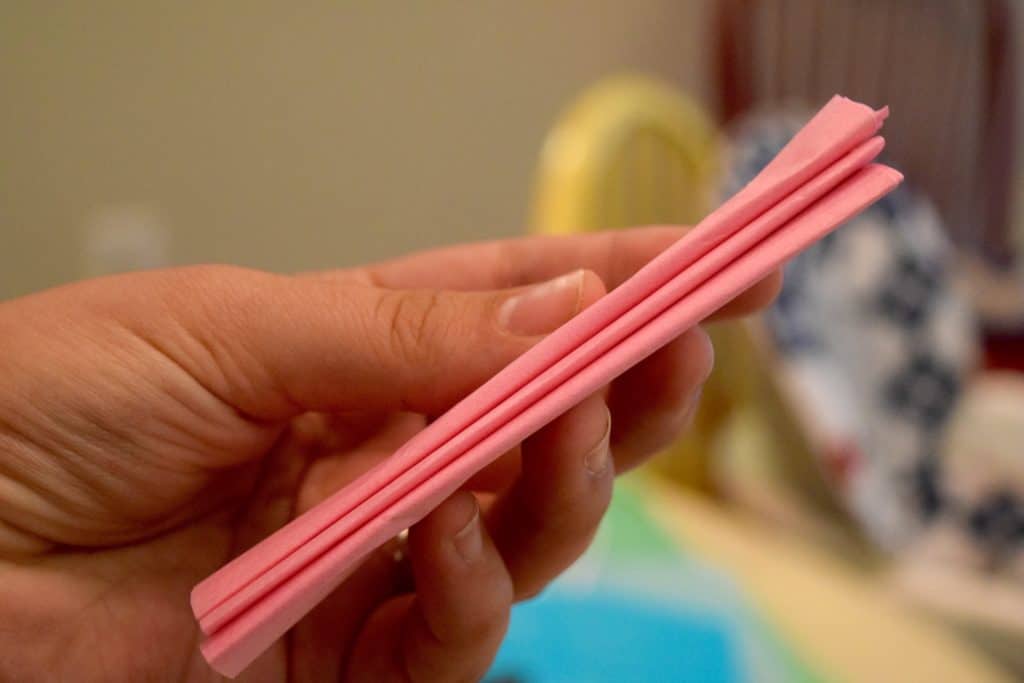
Set aside your bag and start working on your fluffy little tissue balls. Take two pieces of whatever color tissue paper you’d like, fold it a few times and cut into four squares. Take one of your squares and fold it back and forth until it’s about 1 1/2 inches wide.
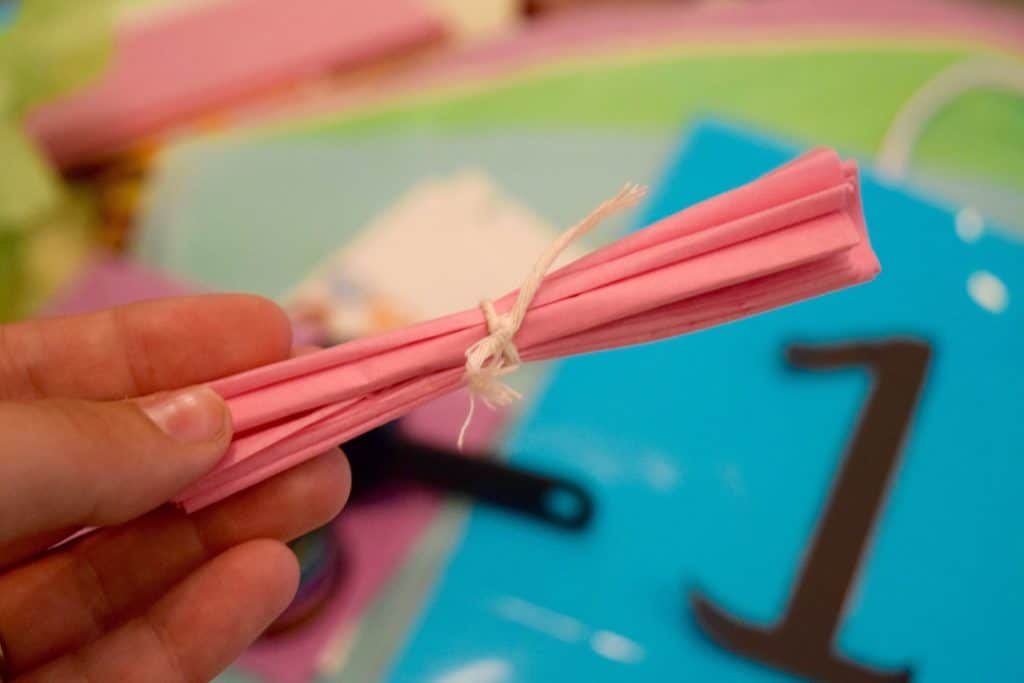
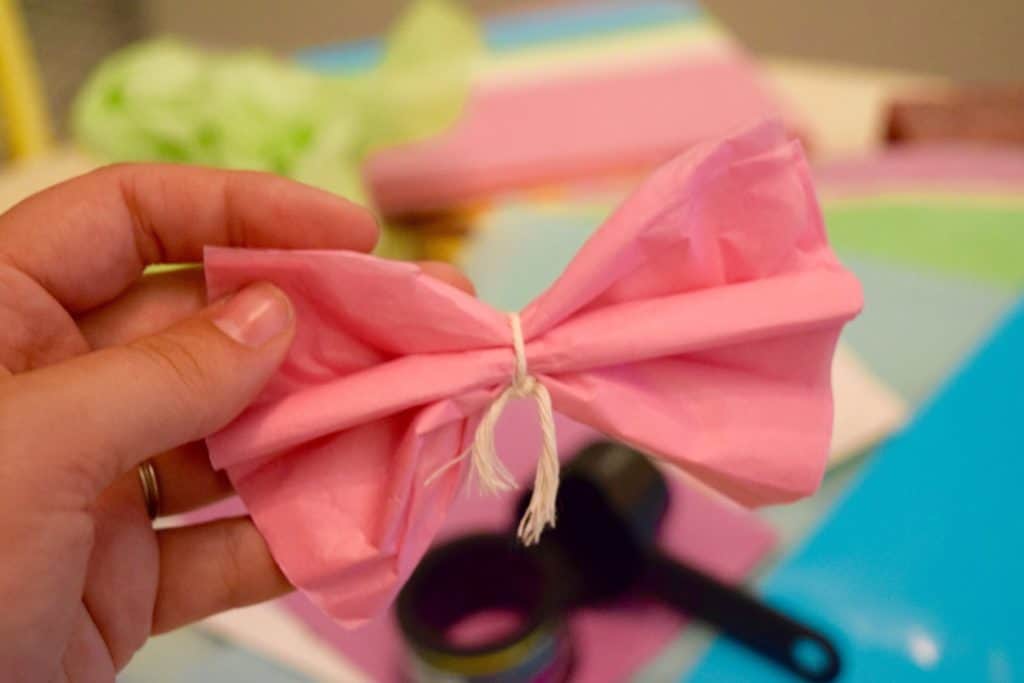
Then, using some twine, tie the middle of your square super tight. I actually wanted to use ribbon for this, but it was too thin and didn’t stay put like the twine did.
Then, start fluffing it out like a little fan. Fun fact. When I worked at Whole Foods Market, my lovely boss, Tiffany, had an idea to make our own “fluff balls” from scratch for the ENTIRE grocery store. In case you can’t imagine that — it was over 100, of different sizes, and colors. The following year we bought them on Amazon, pre-made.
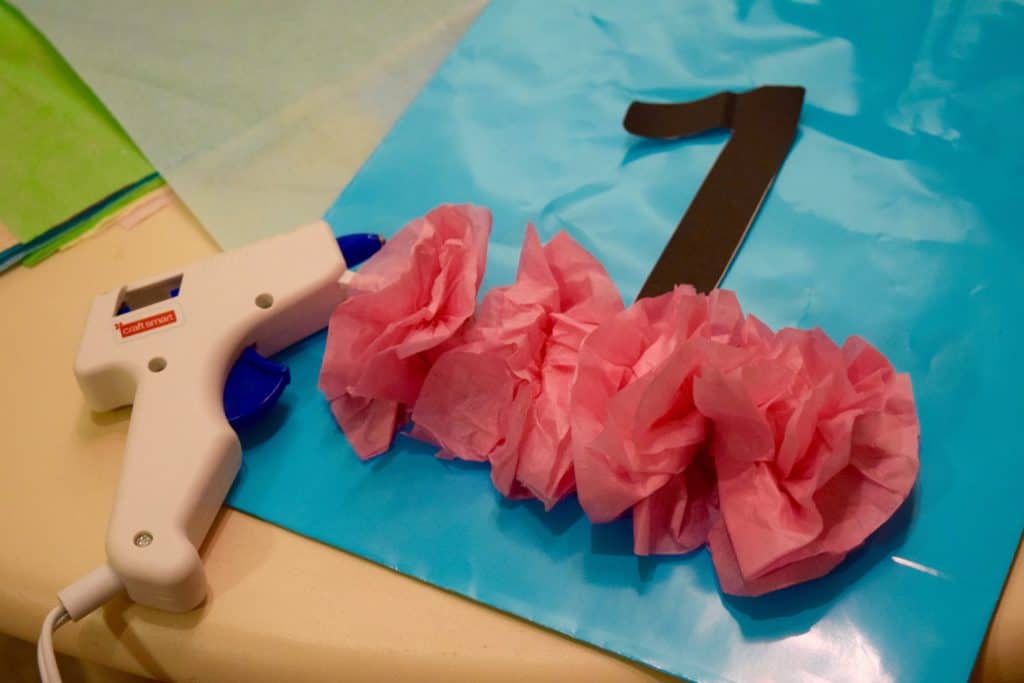
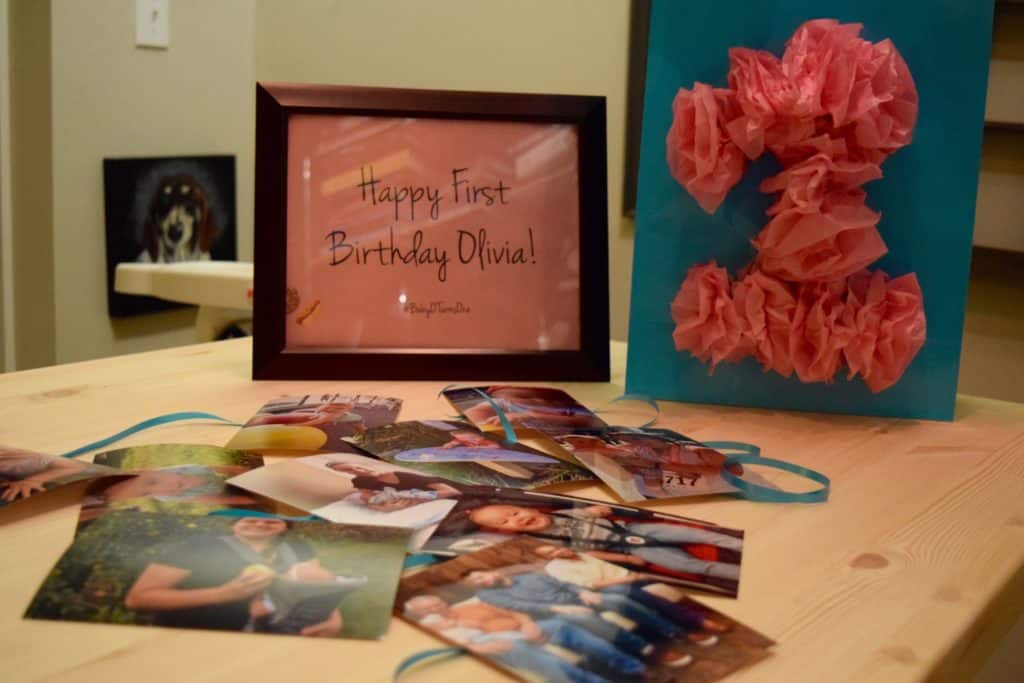
Once you have your fluff balls made, take out your handy dandy glue gun again and adhere them to your number on the gift bag. I finished all my fluff balls first (5 in total) and positioned them out with my number as a guideline. Then, I lifted each one and glued it down, one by one.
Literally, this took me maybe a half hour from start to finish. I would suggest to set your mise en place, the same I suggest with our recipes. Get your bag, number, scissors, twine, glue gun, etc. all set and ready before you dive in. Nothing is worse than having to stop because you forgot to set your glue gun up. I’m so glad I grabbed the multi-colored tissue paper because I could add a few other little pops of color to fill the bag after her gift was all wrapped inside.
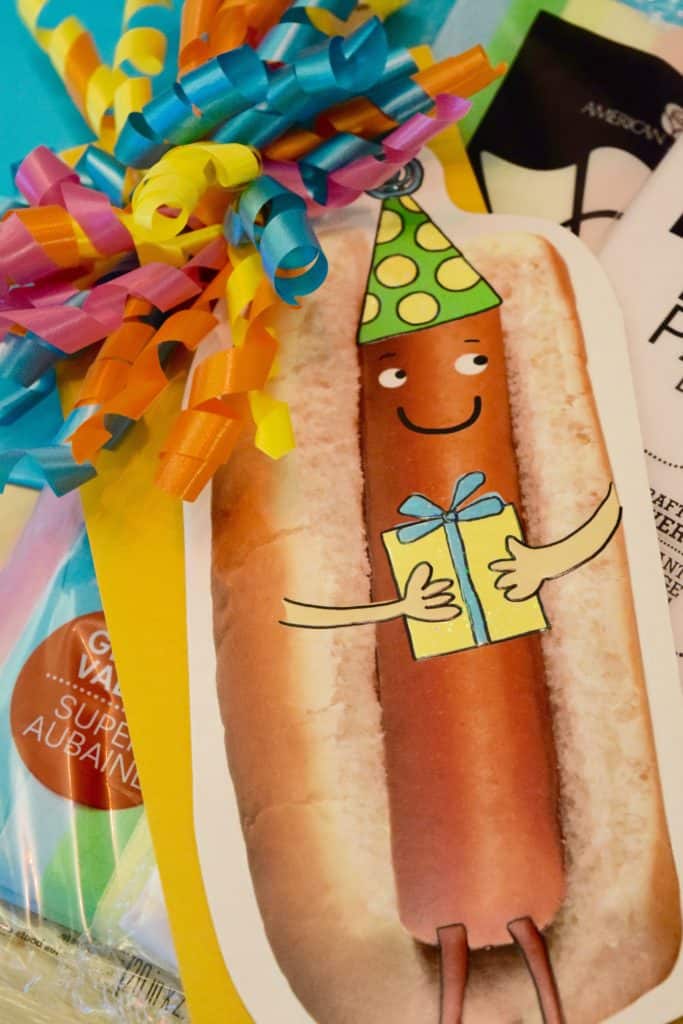
Now, my favorite part of birthday gifts, the cards! I’m a HUGE card giver and love to receive them. When I was a kid, I used to ask my dad to send me mail to our house, that we lived at together. I might not have understood the U.S. Postal Service, but I understood that I loved cards. The card aisles (!) at Meijer are amazing and you could spend hours in there. If your kiddo is a fan of Elsa, Mickey, or any of those coveted characters, you are set. If you are a weird (cool) parent like me and have a ridiculous party theme for your one year old, then this hot dog card is also perfect.
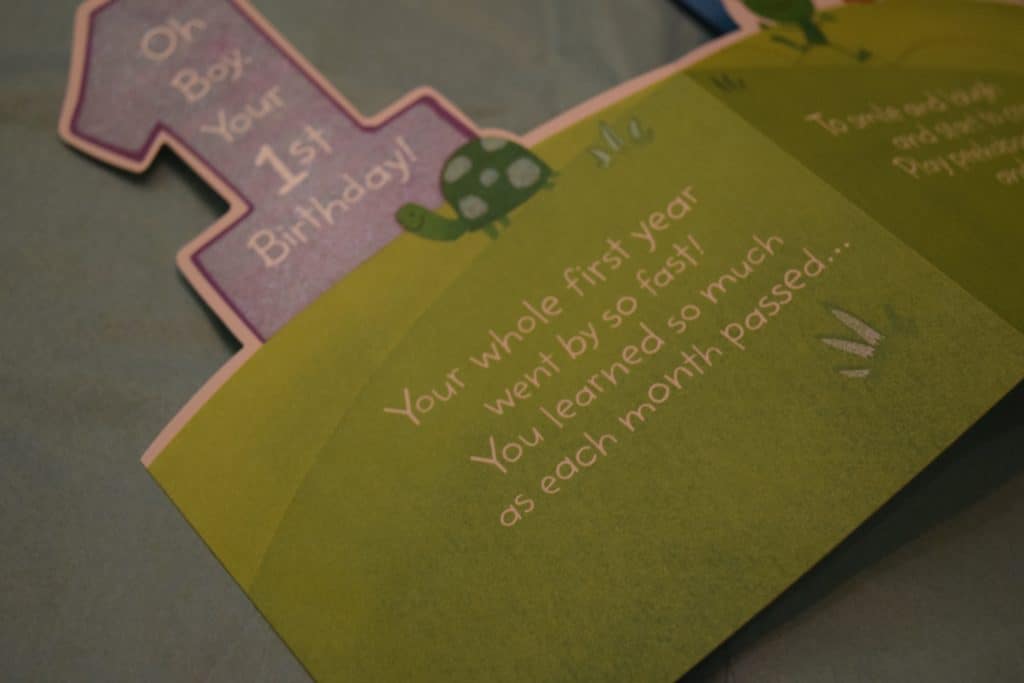
I know my daughter can’t read now, but I’m a card hoarder, so when she is older she will have all these beautiful notes to read about her first summer birthday. I’m not crying, you’re crying.
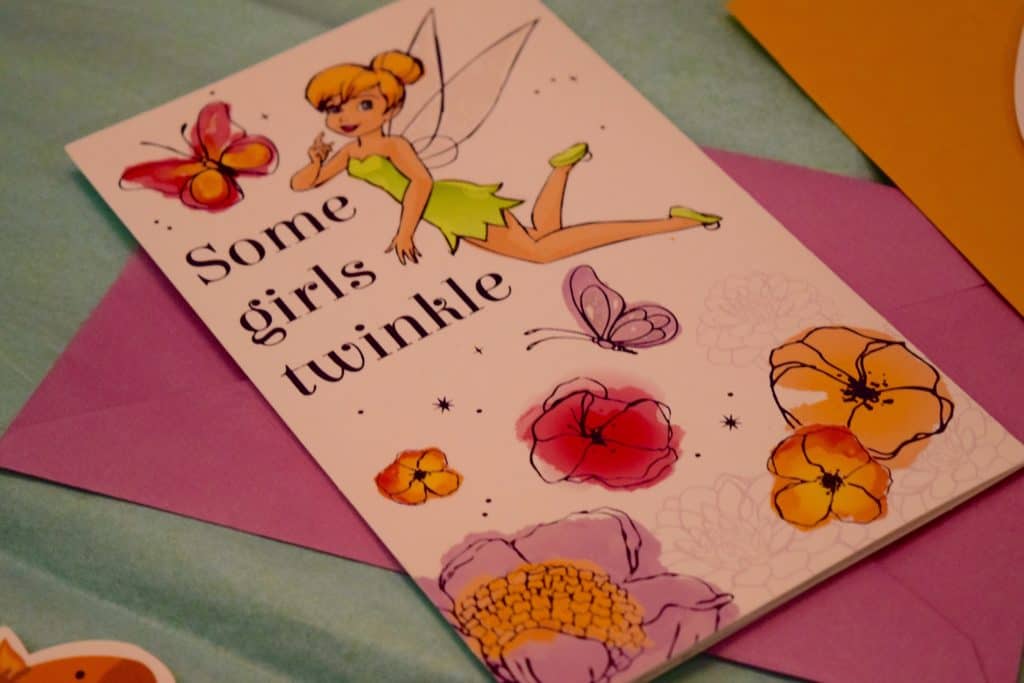
I’m sure you guys know that we went to Disney World a few months ago. One of our last character moments was with Tinkerbell and it was just so lovely. I saw this card and knew I had to add it to my list for Baby O. My plan is to add the picture of her and Tinkerbell to the card so she has an extra special memory for later on down the road.
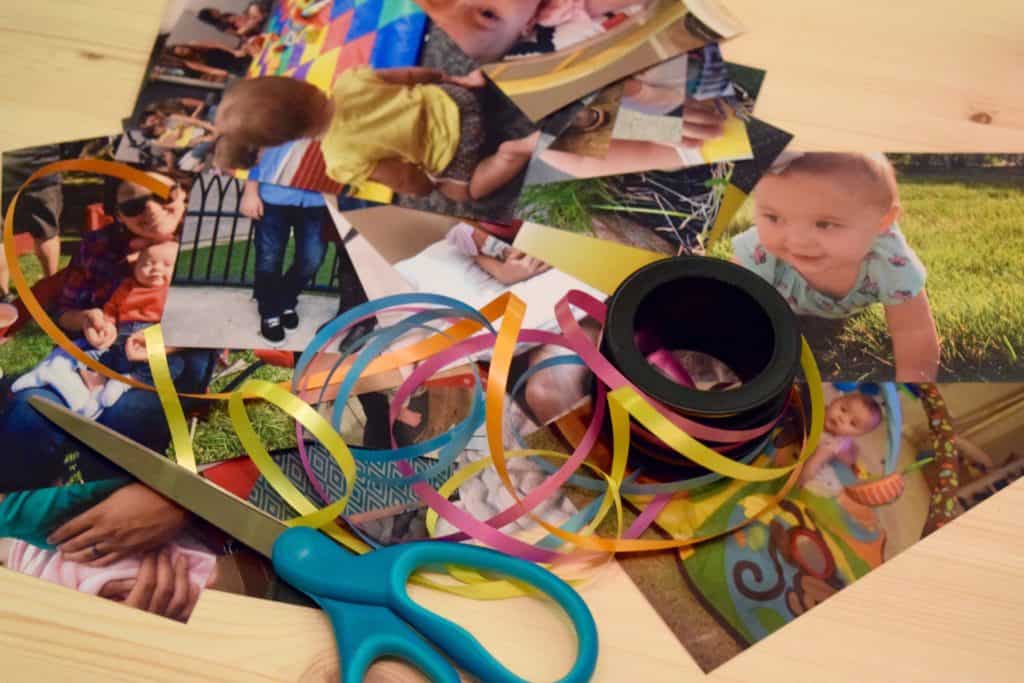
Alright, here’s one more tutorial because it’s SO easy and will add a little something extra to your kiddo’s summer birthday party. Like I said about the tissue paper earlier, I really like the multi-pack of ribbon that American Greetings offers at Meijer. I ordered literally 200 pictures from Shutterfly and needed a way to showcase them without just having stacks on a table.
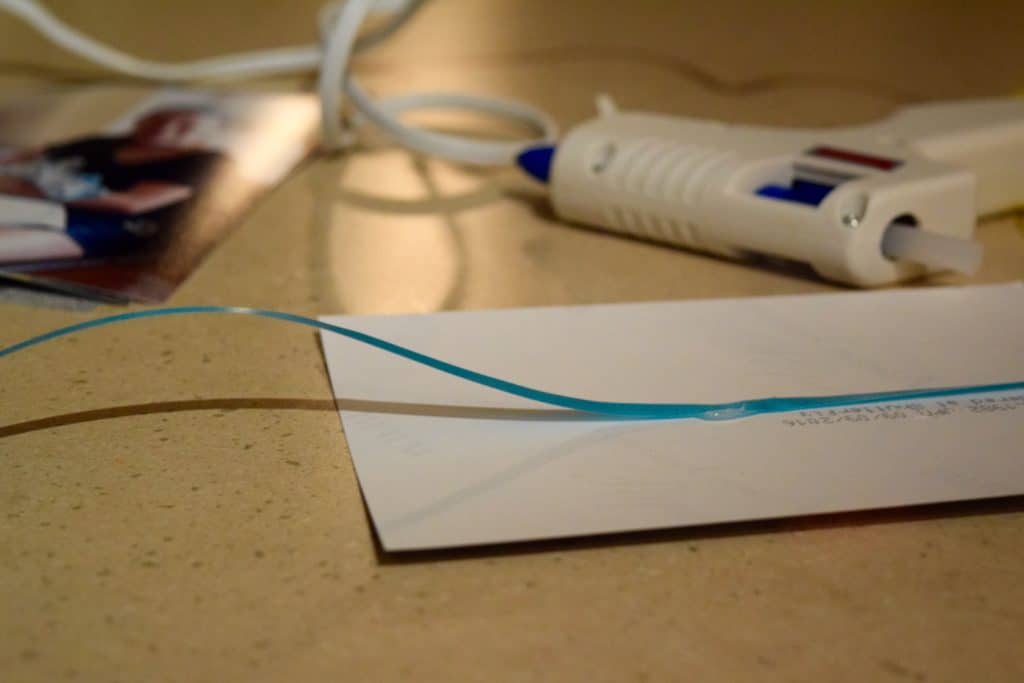
In comes my handy dandy glue gun again! I use a literal $2 glue gun and it’s the best. Since this ribbon spool comes in four colors, I gathered up 40 of my facorite pictures and separated them into piles of 10. There are a few different ways you can organize your pictures. I like the kind of messy, organic way of using my best judgment of horizontal and vertical pictures about 4-5 inches apart on the ribbon. But, you can be very technical and do every other as a horizontal/vertical picture and measure the distance between each picture.
We'd Love To Hear Your Thoughts on This Recipe!