I love fall and everything pumpkin related so it’s a given that this would be one of my favorite weeks of the year. I made my first batch of cake pops this summer, using Sally’s Baking Addiction. recipe as inspiration.
I was shocked at how easy they are! They definitely take a few steps but are really straightforward and simple!
Once you make these pumpkin cake pops, you’ll never buy them from Starbucks again! Okay, maybe sometimes because they are delicious.
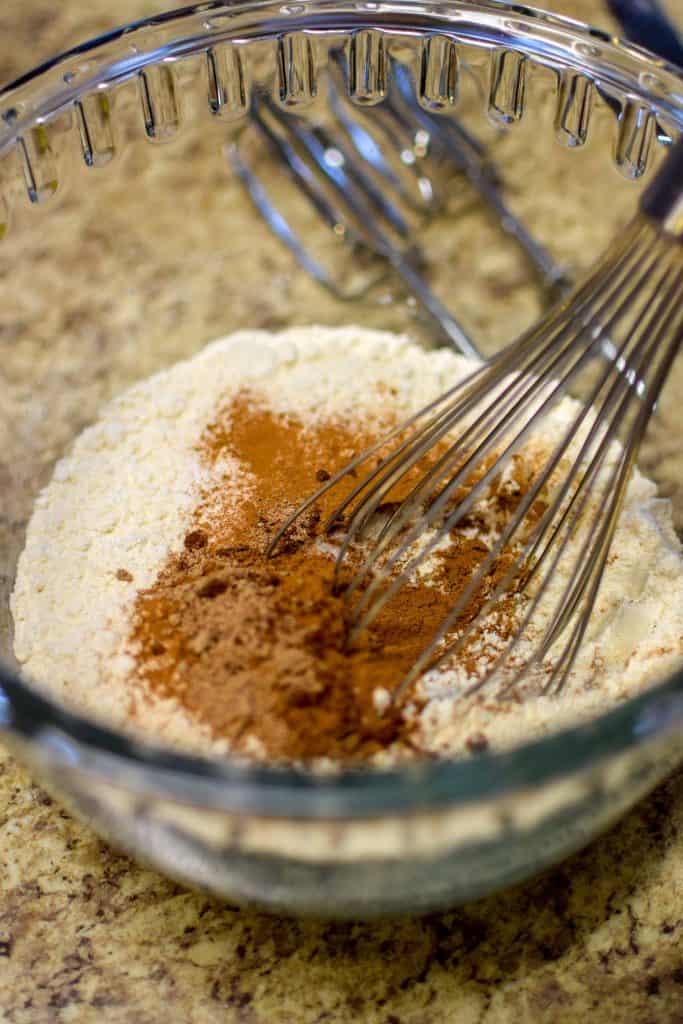
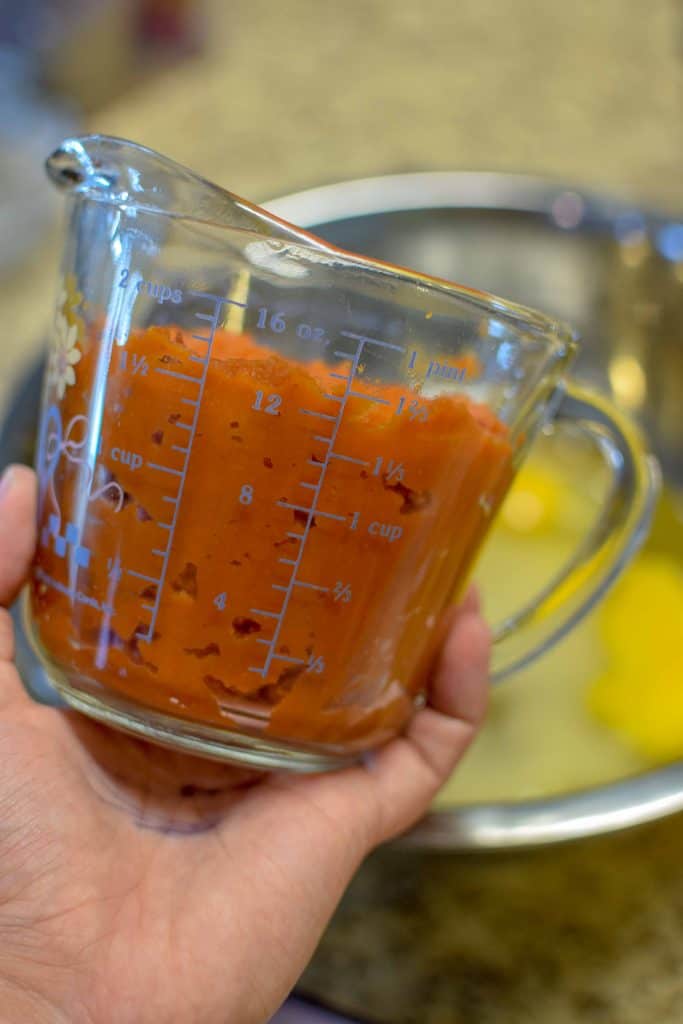
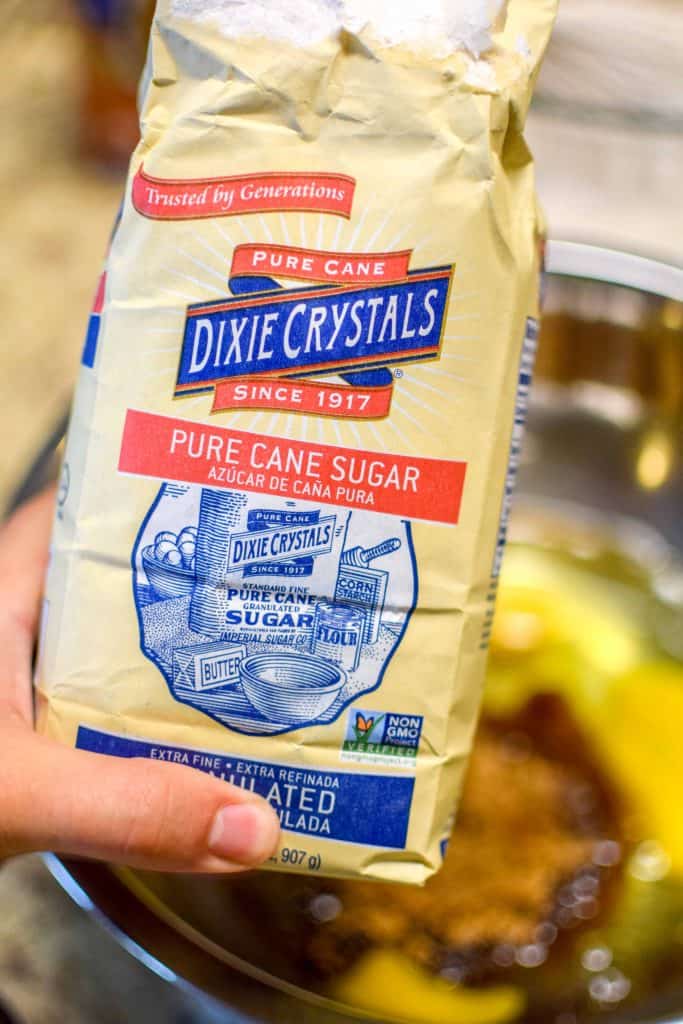
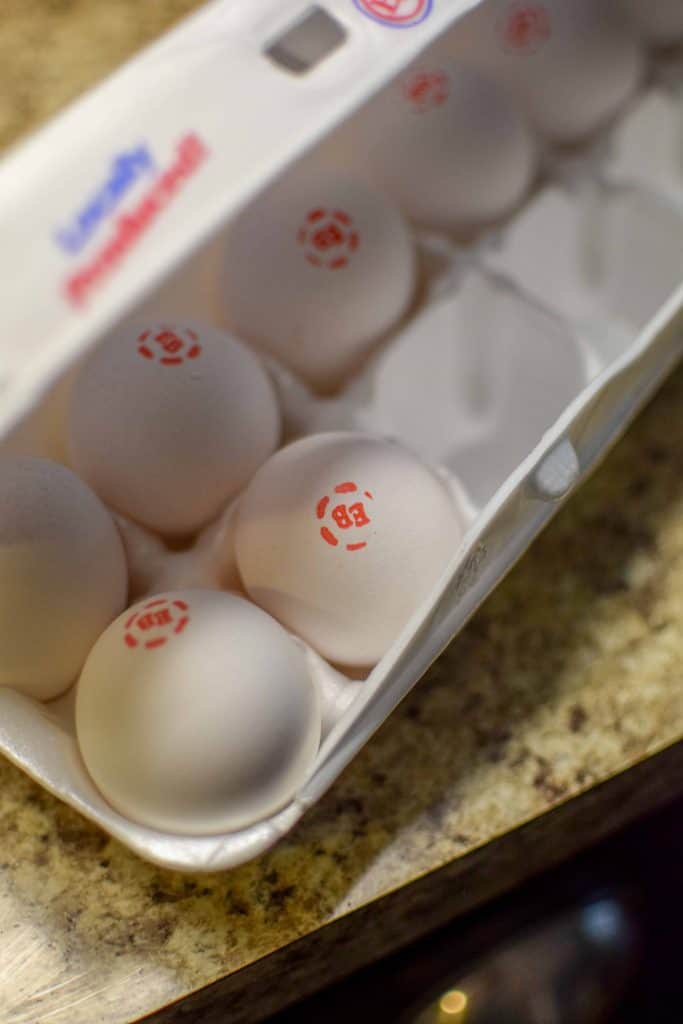
Basically, to make cake pops, you make a whole cake first! Our friends at Eggland’s Best hooked us up with some freebies for our pumpkin cake pops. Do you remember when I had a 48 hour crash course in all things Ohio eggs? If you don’t, head over here to refresh your memory!
I’m pretty sure I consumed more eggs in 2 days than I do in a month. I’m still not mad about it.
I used (again) Sally’s Baking Addiction pumpkin cake for my cake pops and it did not disappoint. I may have eaten a half a slice of the cake before I made the cake pops. It made our house smell like Bath & Body Works in the middle of October and again, I was not mad about it.
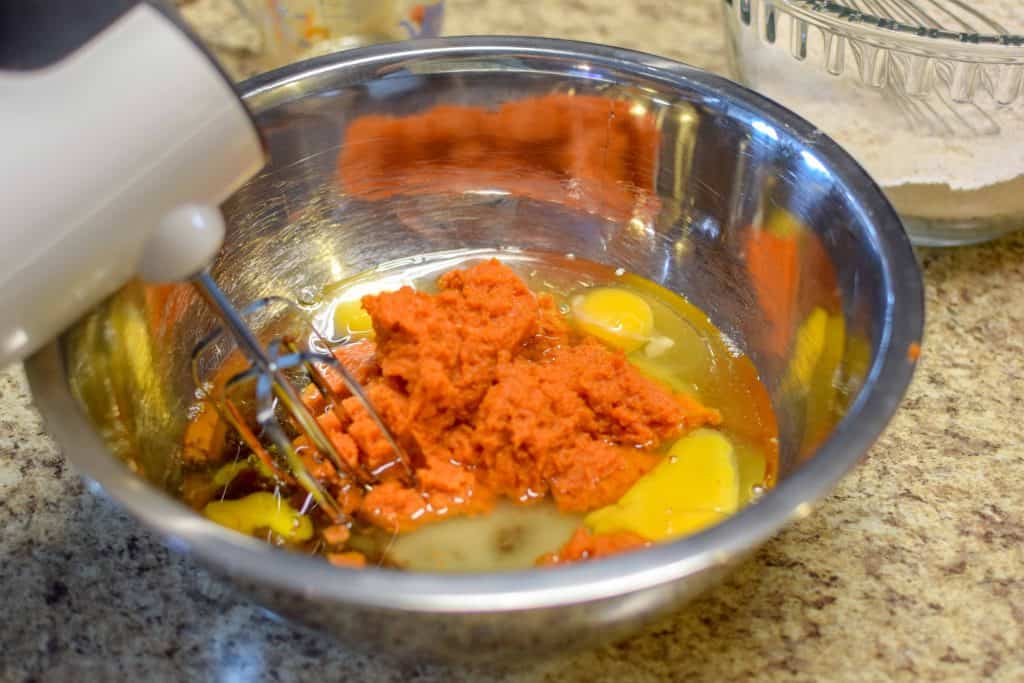
You know I love my stand mixer(s), but I switched it up and used a hand mixer for this recipe. We have this hand mixer at home and it’s pretty awesome. As long as you use a deep bowl, you won’t create a mess, which is usually why I don’t like to use hand mixers.
Then, you just need to use a rubber spatula to mix the wet and dry ingredients! Seriously, a super simple recipe for pumpkin cake. If you aren’t making cake pops, you can stop here and just enjoy this DELICIOUS dessert. Top it with whipped cream or cream cheese icing for extra goodness.
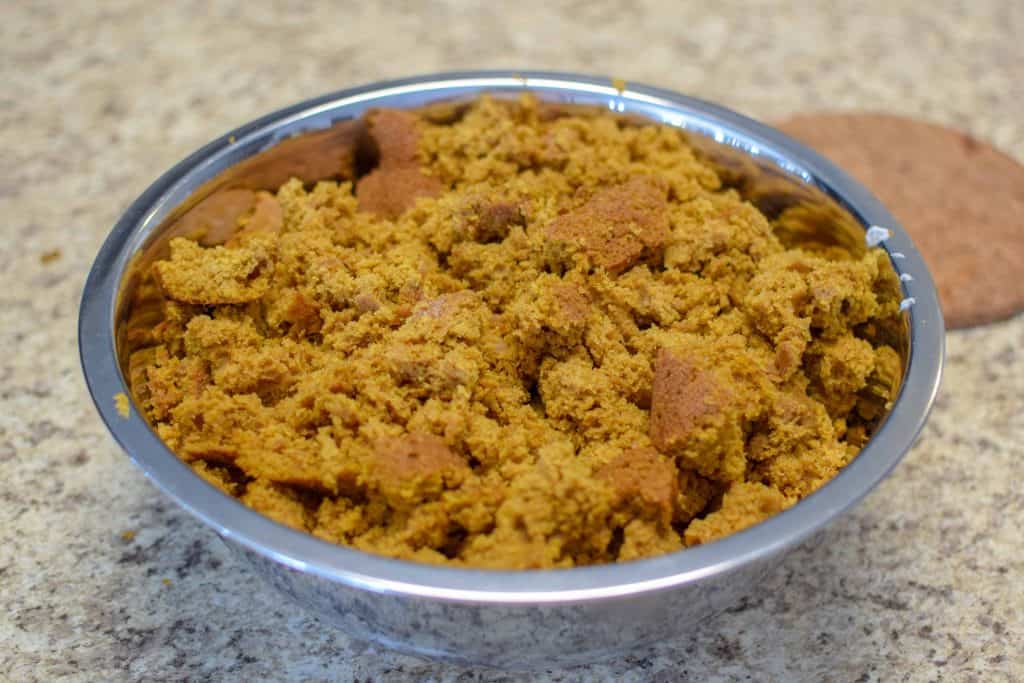
Since we are making pumpkin cake pops, the next step (after cooling the cake) is to crumble it up in a big bowl! I will say it feels a little weird to mash up cake, kinda like I’m breaking some kind of rule. I did it by hand, which can be fun for any kiddos who want to help you in the kitchen!
In a separate bowl, you’ll want to make your icing. Cake pops are literally cake mixed with icing and dipped in white chocolate. How are they not my favorite dessert? Okay, they might be now actually. I made buttercream icing for my cake pops but you could make cream cheese icing too if you’d like!
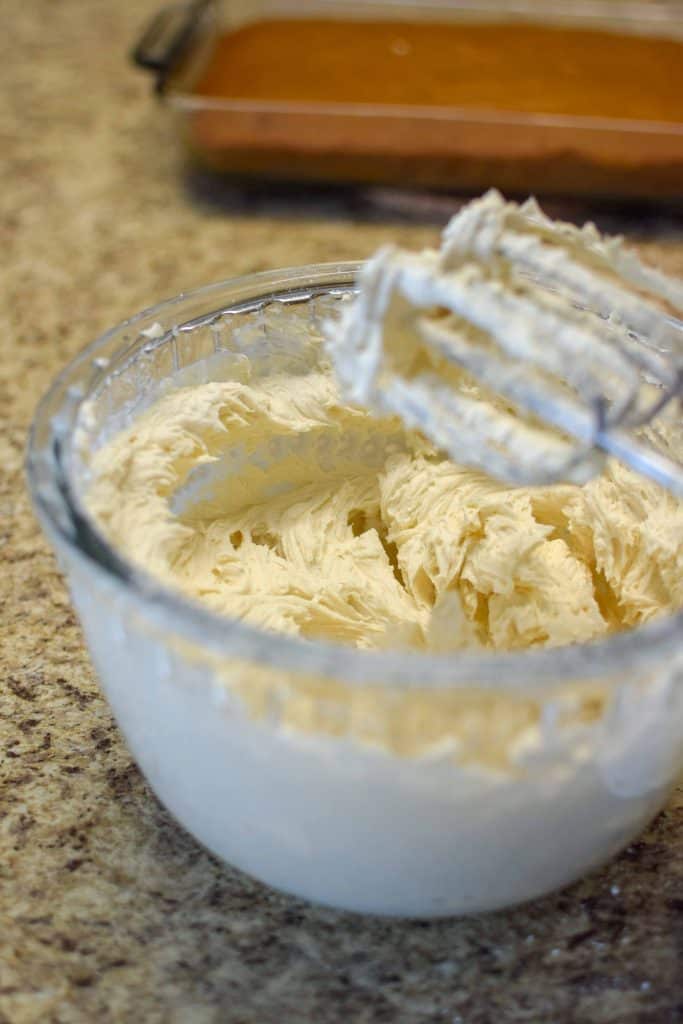
Alrighty, next you put your icing straight into the smushed up pumpkin cake. I suggest using a hand or stand mixer here to make sure it gets nice and combined. The mixture will be fairly wet but still dry enough to stay together well. If you add too much icing, they will just be soggy messes and won’t say together. Nobody wants a sad mushy cake pop.
Now for the fun (and messy) part! You’ll need a few tools to start making the cake pops into actual pops.
- Silpat sheets. Dixie Crystals sent us some (because they are the best) but we also have these ones from Utopia Kitchen on Amazon ($7.99 for 2!) that work really well.
- Cookie scoop. I have this OXO one and use it at least 4-5 times a week, it’s so handy.
- Cookie sheets. I use the Williams Sonoma GoldTouch pans at home but any large cookie sheet will work.
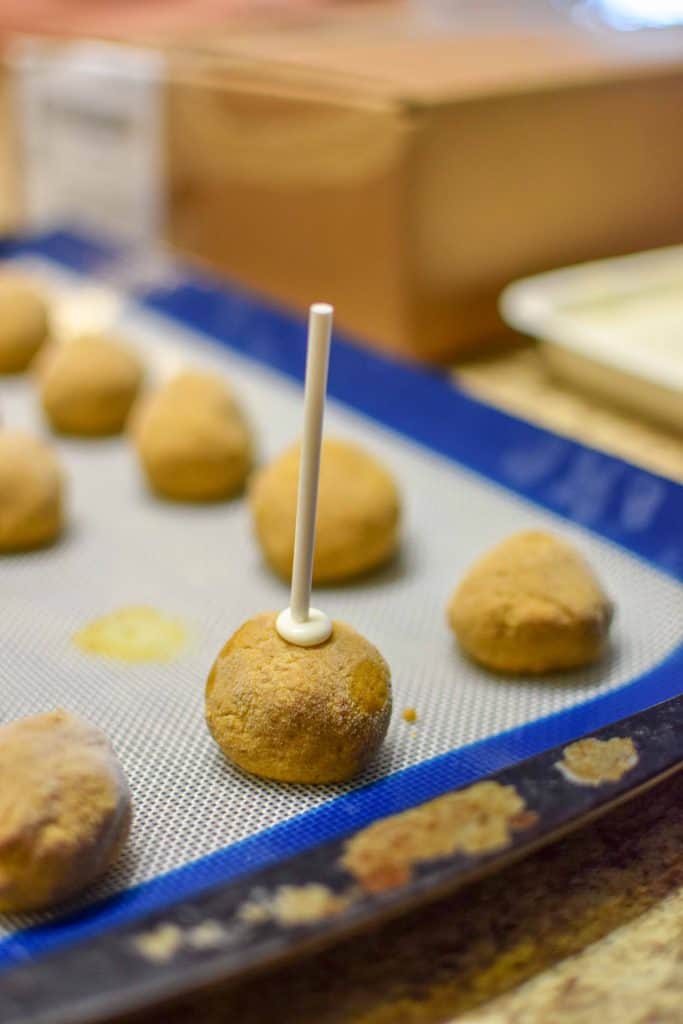
Use the cookie scoop to form the cake mixture into balls and then toss them on a silpat sheet and pop them in the freezer. Note, if you have a side by side fridge/freezer combo then you may need smaller cookie sheets.
The only must-have when making these pumpkin cake pops are some sticks to make them actual pops! I bought the Wilton ones that are like $3 and work perfectly! You can grab them here on Amazon or pick them up a your local Michael’s.
You’ll want to freeze them for at least 2 hours but can freeze them longer. I’m actually very strongly considering making batches for Christmas so I can decorate the day of or the day before my party.
Using the tip from Sally’s Baking Addiction, dip your stick in the melted chocolate before sticking into your frozen cake pop. It helps to keep the stick stay put while adding the rest of the white chocolate and decorations.
Another tip from Sally, poke holes in a box so you can stick your decorated cake pops on there while they finish drying. I used these super easy microwavable white chocolate pans from Kroger. They are super easy to use and only like $4. But, the pan is a little shallow so I think next time around, I’ll just melt some white chocolate over a double boiler and dip in a bigger bowl.
It dries super fast though so you’ll want to dip, swirl and add your sprinkles immediately. Then, put in your box holder and let dry!
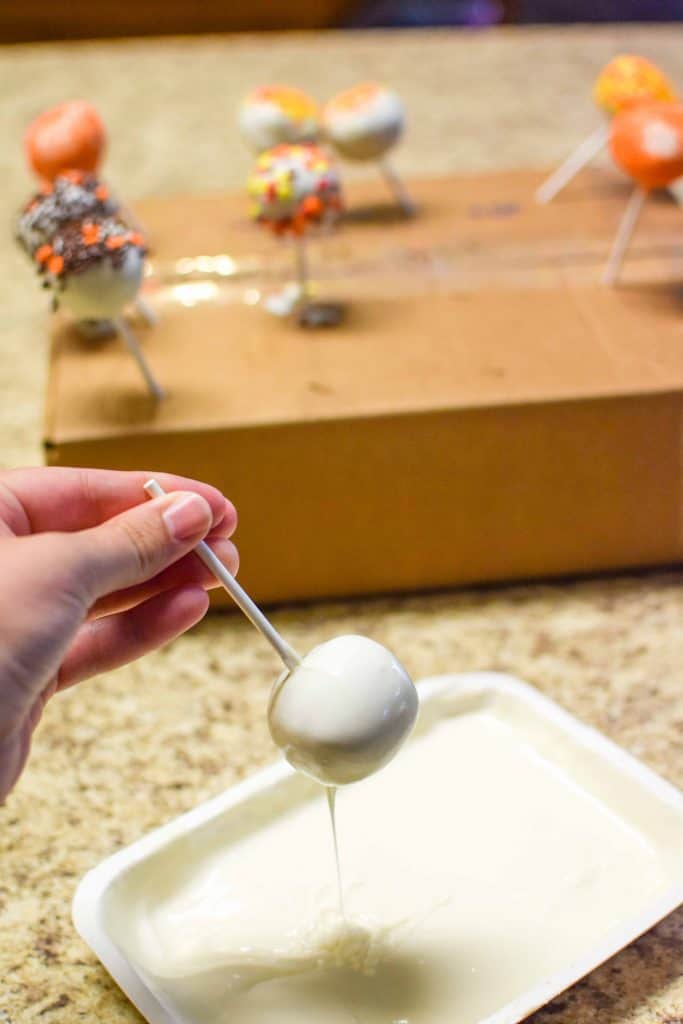
This recipe makes a TON of cake pops which is nice because you can just freeze any of the batch that you don’t need. But, once you eat one you’ll probably want to eat them all because the pumpkin and white chocolate is addicting. I’ve recently discovered how in love with sprinkles people are and I have to say, I’m getting on the bandwagon.
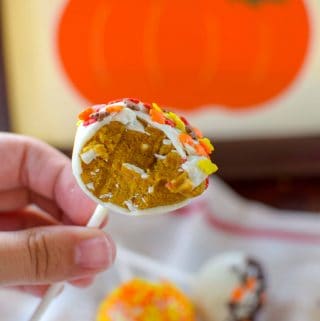
Pumpkin Cake Pops
Ingredients
Pumpkin Cake
- 2 cups all purpose flour
- 2 teaspoons baking powder
- 1 teaspoon baking soda
- 1 1/2 teaspoons cinnamon
- 2 teaspoons pumpkin pie spice
- 1 cup canola or vegetable oil
- 4 eggs
- 1 cup brown sugar packed
- 1/2 cup granulated white sugar
- 1 15 oz can pumpkin
- 1 1/2 teaspoons vanilla extract
Buttercream Icing
- 2 sticks butter softened
- 4 cups powdered sugar sifted
- 2 teaspoons vanilla extract
- pinch salt to taste
Pumpkin Cake Pops
- 1 pumpkin cake cooled and crumbled
- 3-4 cups buttercream icing
- 40 ounces white chocolate or candy melts
- sprinkles for decorating
- 40 lollipop sticks
Instructions
Pumpkin Cake
- Preheat the oven to 350 degrees F. Grease a 9×13 glass cake pan.
- In a large mixing bowl, whisk flour, baking powder, baking soda, salt, cinnamon, and pumpkin pie spice. Set aside.
- In a separate bowl, whisk with a hand/stand mixer oil, eggs, brown sugar, granulated sugar, pumpkin and vanilla extract until well combined. Gently add the dry ingredients the wet mixture and whisk until fully combined.
- Pour batter into greased baking pan, making sure it’s level and flat. Bake for 30-35 minutes, until a toothpick inserted in the center comes out clean.
- Let cake cool in baking dish at least 1 hour until completely cool before next step for cake pops.
Buttercream Icing
- Using stand mixer and paddle attachment, beat the butter for about 2 minutes until creamy.
- Add in four cups of powdered sugar and vanilla extract with the mixer running on the lowest speed. Scrape sides of the mixer, as needed.
- Then, increase the speed to high and beat for about 3-5 minutes until fluffy and creamy. See next steps for cake pops below.
Pumpkin Cake Pops
- Crumble cooled pumpkin cake in a large bowl. Using a hand/stand mixer, combine the buttercream icing until fully combined.
- Using a cookie scoop, form cake balls and set on silpat lined cookie sheets. Continue until all cake mixture is finished.
- Freeze cake balls on cookies sheets for a minimum of two hours.
- When ready to dip your cake balls, melt your chocolate and prepare your dipping station. Have a box with holes cut in it to let finished cake pops sit in while they dry.
- Remove cookie sheet of cake balls from the freezer. One by one, dip a lollipop stick in the melted chocolate and then into the frozen cake ball for easier dipping. Fully coat the cake pop in white chocolate and immediately decorate with sprinkles. Repeat, careful to not let the cake balls get too warm. Switch cookie sheets, if needed to let them refreeze.
- Let decorated cake pops dry then enjoy immediately or within two days!
Wendy Klik
These look great. Perfect for a Halloween themed party.
pease.hannah@gmail.com
Thank you! Yes, totally agree — now I must have a Halloween party! 😉